
A few weeks ago I was randomly watching YouTube videos and came across a tutorial for jhumke made out of paper (quilled paper jhumke). Anyone who knows me knows that I have a bit of an obsession with jhumke, and nothing gets me as excited as a good DIY, so this seemed like the perfect project for me.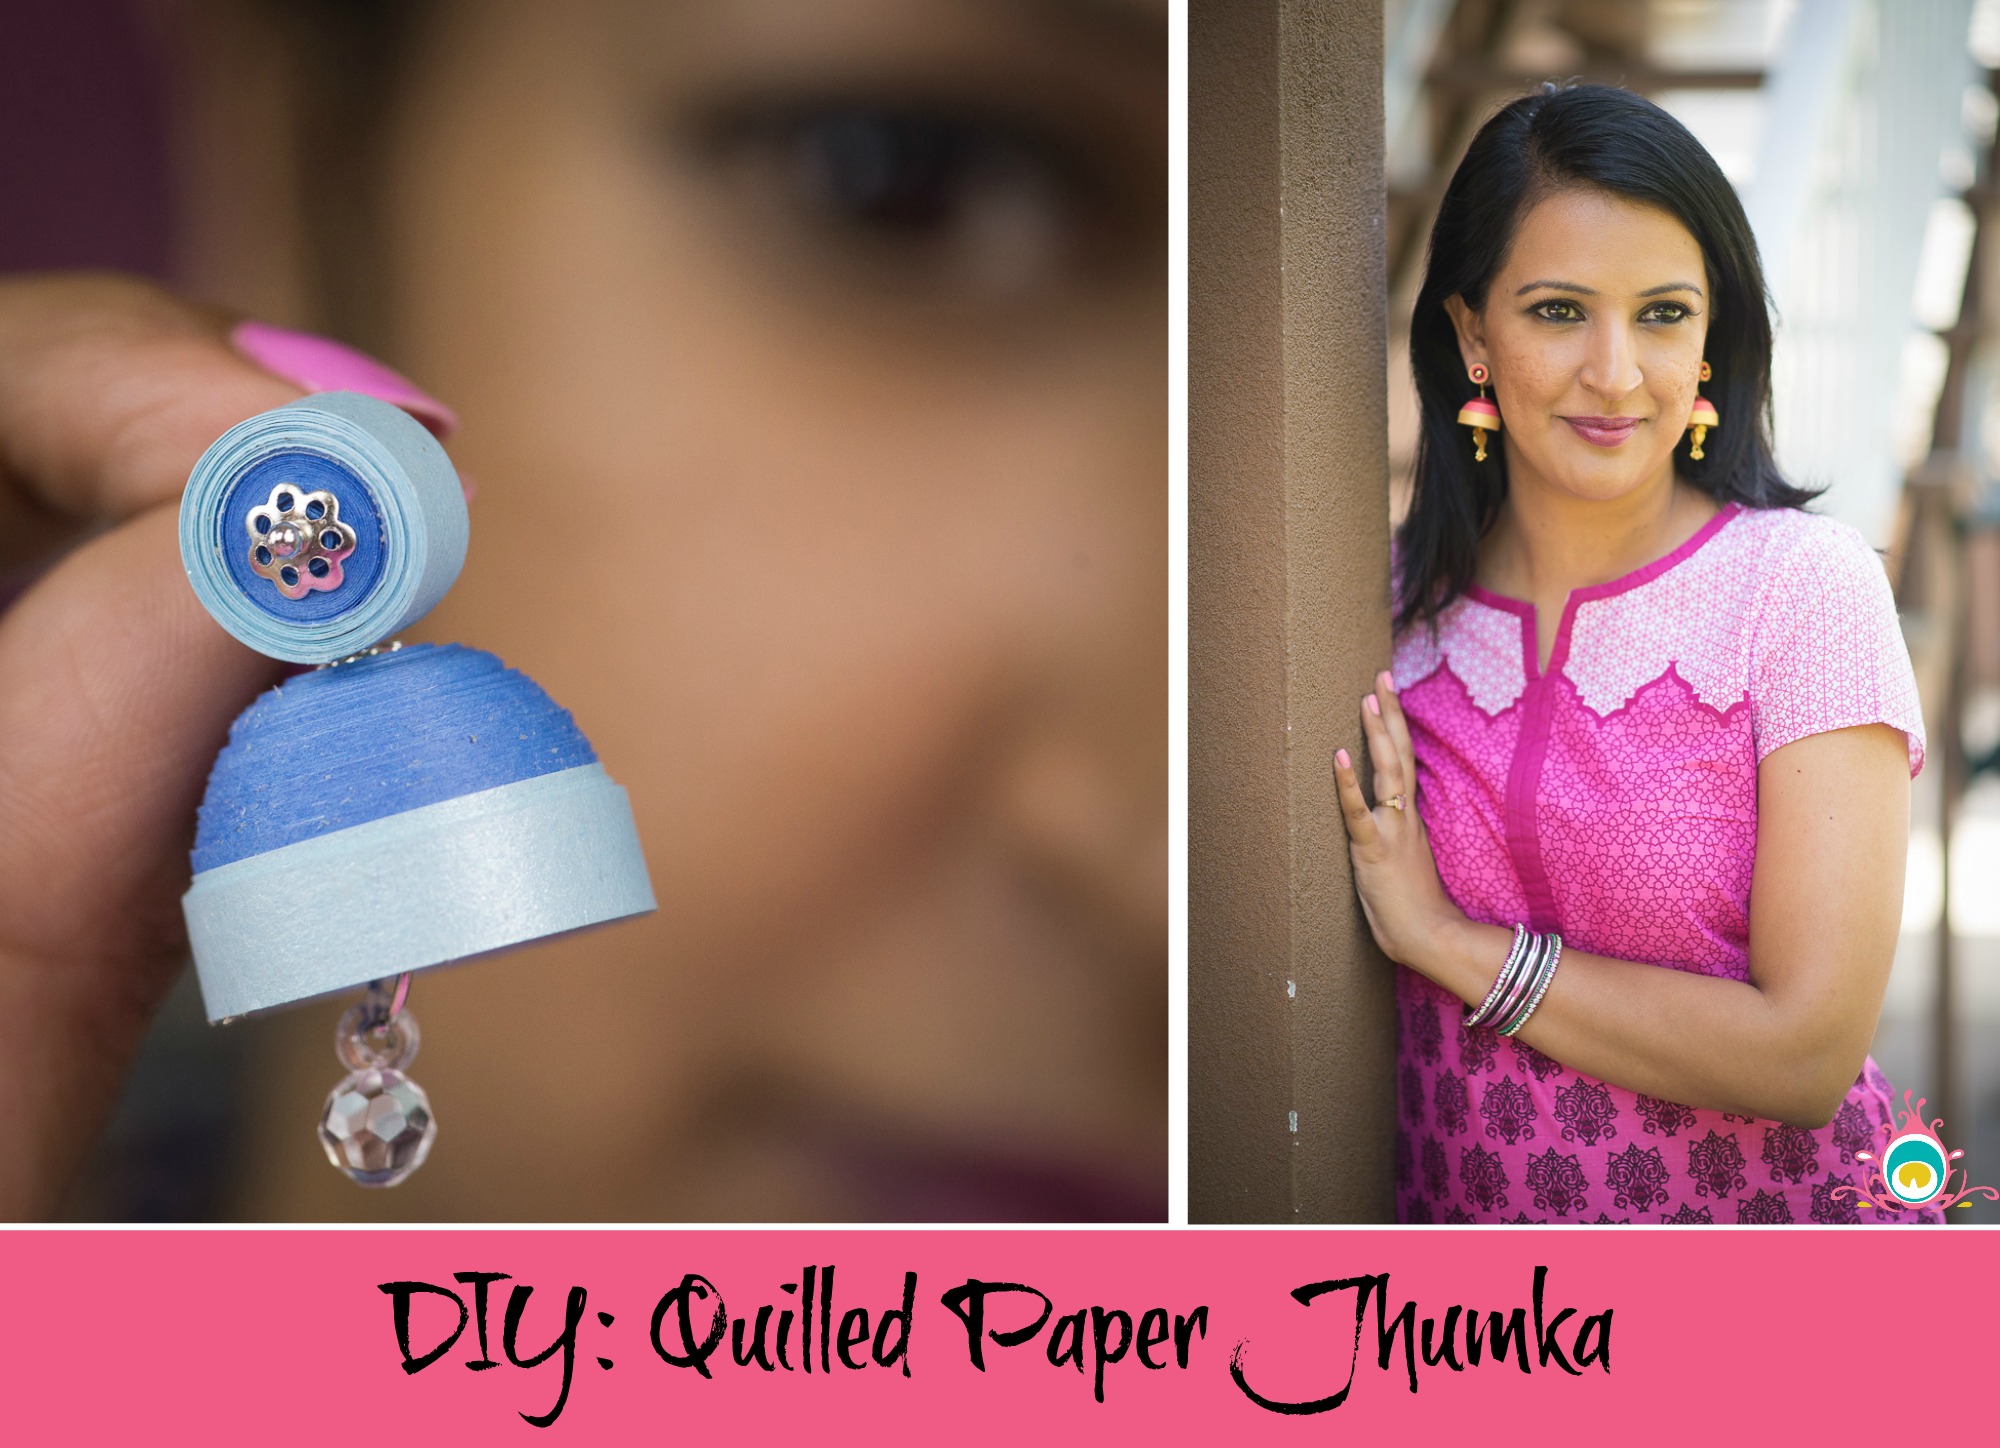
Sadly, most of the tutorials were made by crafters in India using supplies I couldn’t source, and sometimes in a language I couldn’t understand. After a bit of hunting I found a source online for quilling supplies and managed to get all the materials required to make a pair of quilled paper jhumke. Of course it took several attempts to piece together the steps I’d seen in all the videos and come up with this tutorial. Hopefully if you try your hand at this project, these steps will be helpful for keeping the frustration at bay.
Before we get into the actual step-by-step for the project, I figure we should talk a little about paper quilling. I honestly had never heard of this art form until I came across the jhumka videos, but you can make some pretty amazing crafts using the technique. Basically quilling involves coiling and shaping strips of paper into intricate designs, and it’s been around since the 18th century. (You can learn more about quilling here.)
Quilled Paper Jhumka DIY
Supplies:
Quilling paper strips – for my earrings I used the 1/4″ size in 3 colours. I ended up using 6 of the main colour, 3 of the secondary colour, and 2 of the contrast colour for each earring. If you made the entire pair of earrings one colour you could need 20 strips of quilling paper.
Quiling tools – slotted tool, mini mould
Jewellery findings – 2 head pins, 2 eye pins, 2 bead caps, 6-10 small glass beads, and optional hanging ornament for centre of jhumka
Clear drying craft glue
Needle-nose pliers
*Note – I purchased my quilling tools and papers online from Quilled Creations. You can probably find them other places as well, I just found them to be the best price, but I did have to pay shipping to Canada.

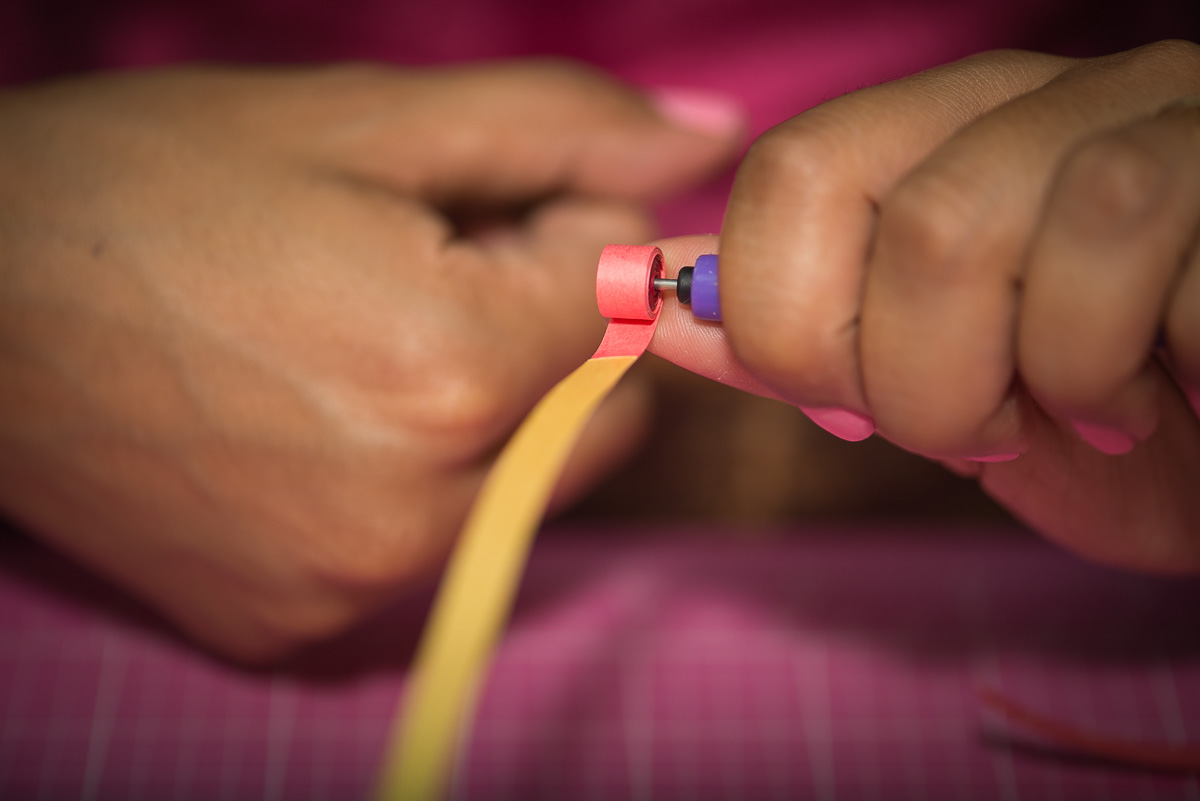
Step 1 – Use a slotted quilling tool to create a large round coil that will be transformed into the jhumka portion of your earring. To do this, slide the very end of a paper strip into the slot, and turn the tool with one hand while evenly guiding the strip with the other.
Use clear drying glue to attach a new strip as needed. For my large coil I used 5 strips of the main colour (burgundy), 2 of the secondary colour (pink), and one of the contrast colour (gold), for a total of 8 strips. You can use all one colour if you like or create a different pattern. If you want a larger or smaller jhumka, you can also adjust the number of strips you use.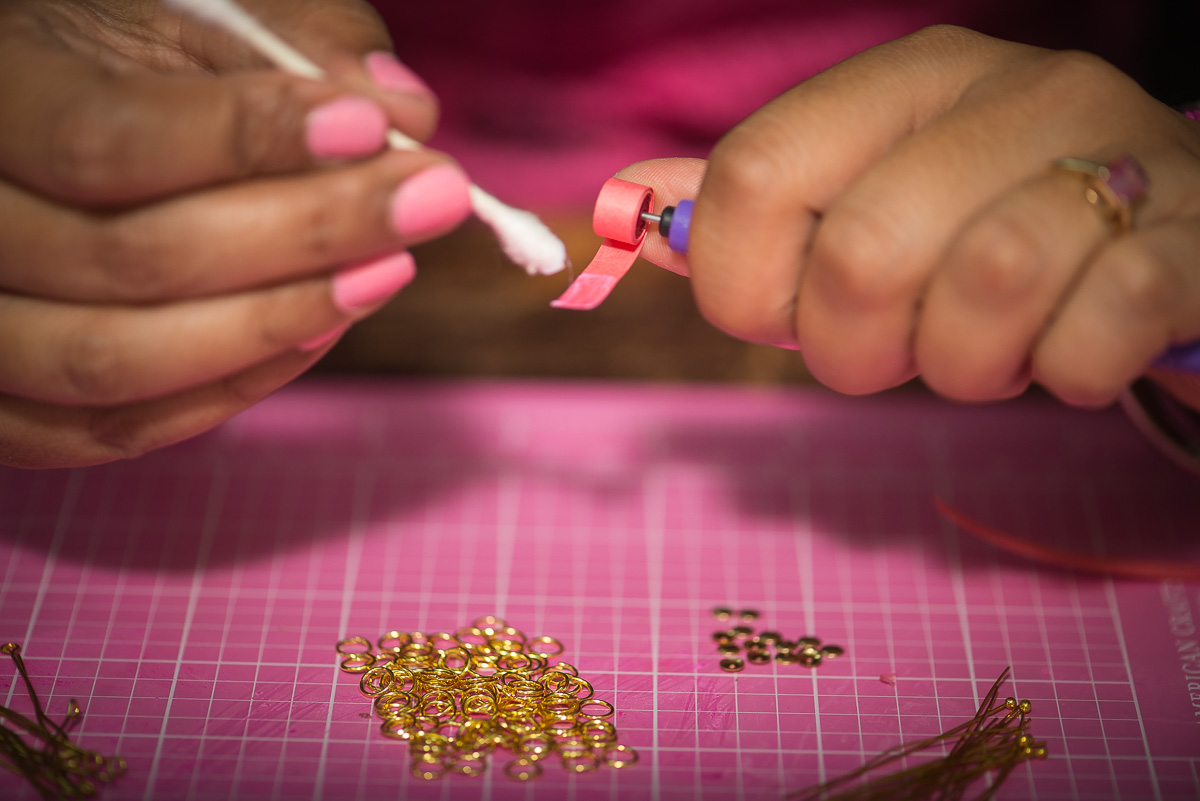
The goal is to create a coiled circle with all three colours.
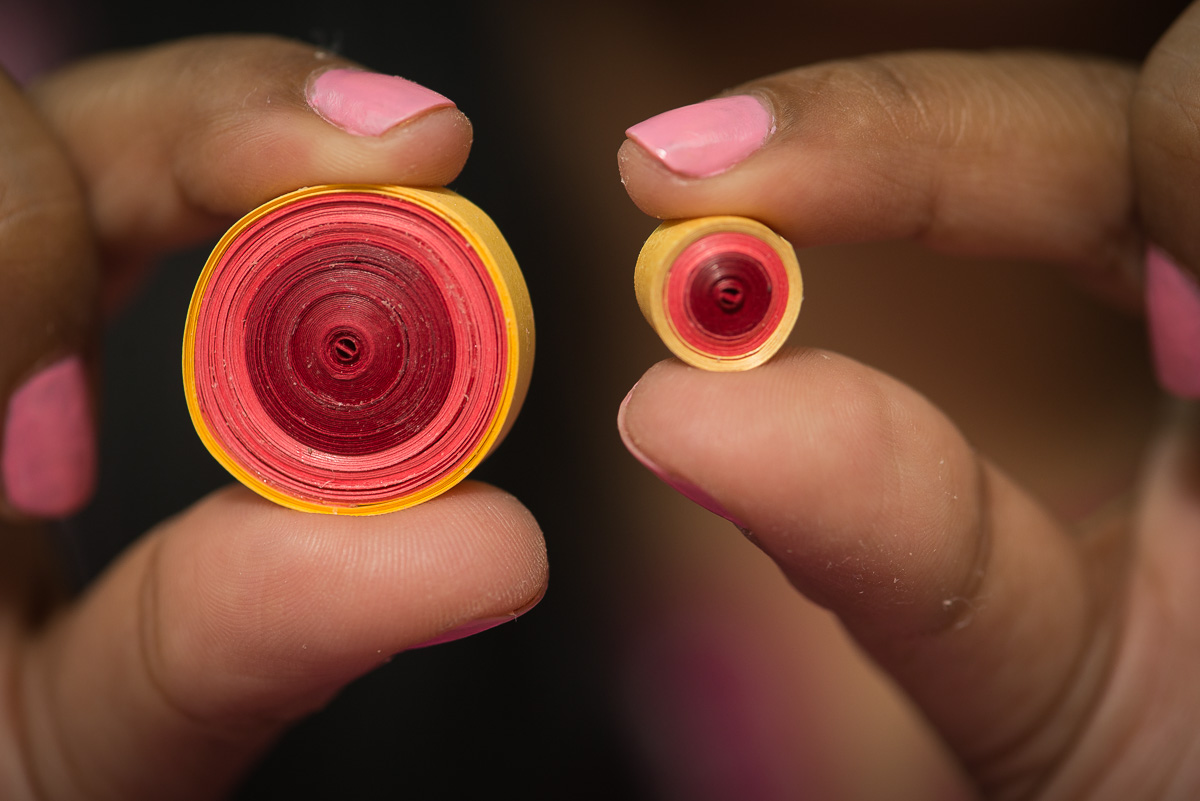
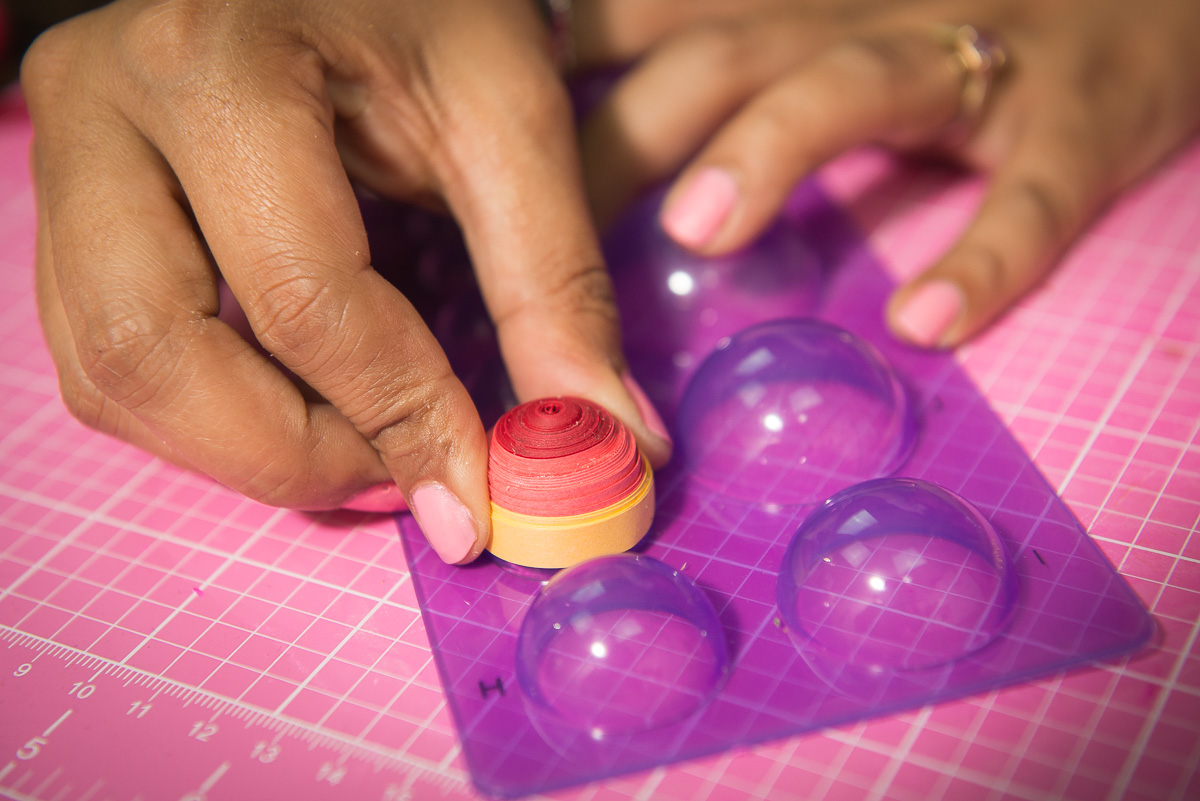
Step 2 – Once you finish the larger circle, make a second, smaller circle that will become the part of the jhumka that sits right against your earlobe. For my smaller circle I used paper strips that I cut in half; for a total of 1 1/2 strips used. You’ll want to make this circle whatever size looks good on your earlobe.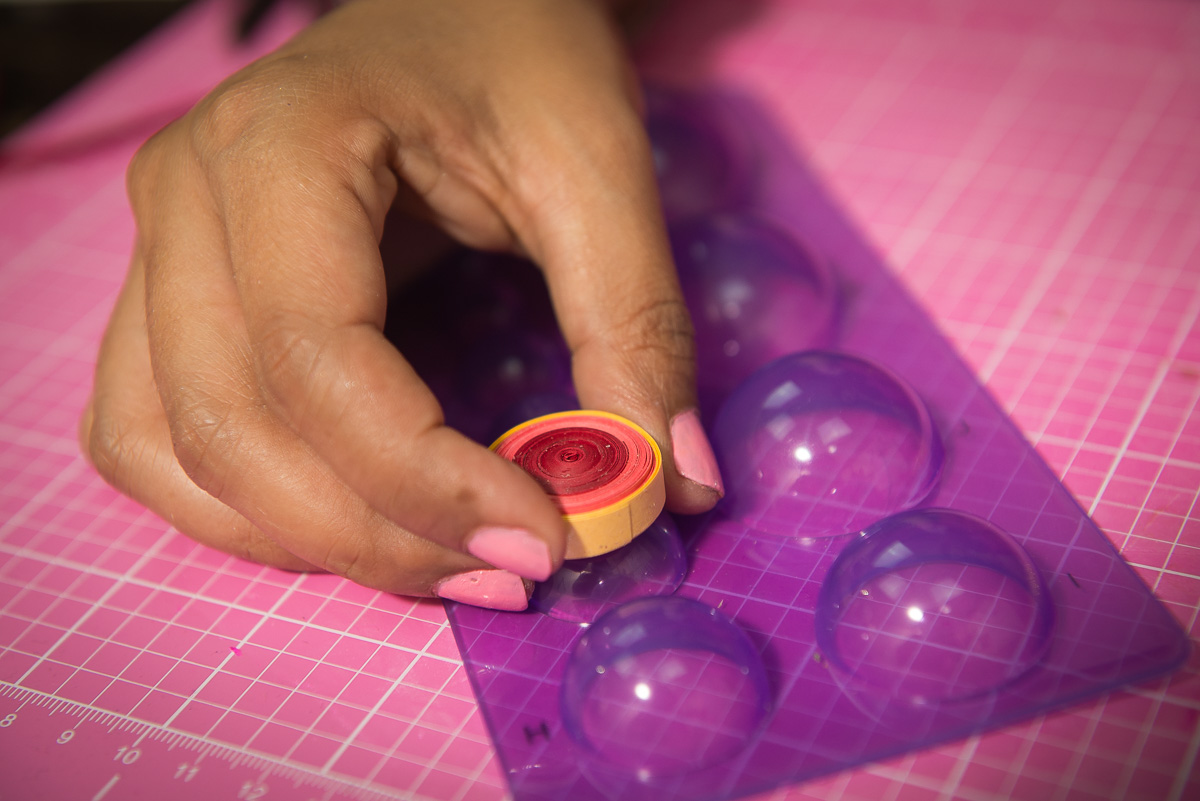
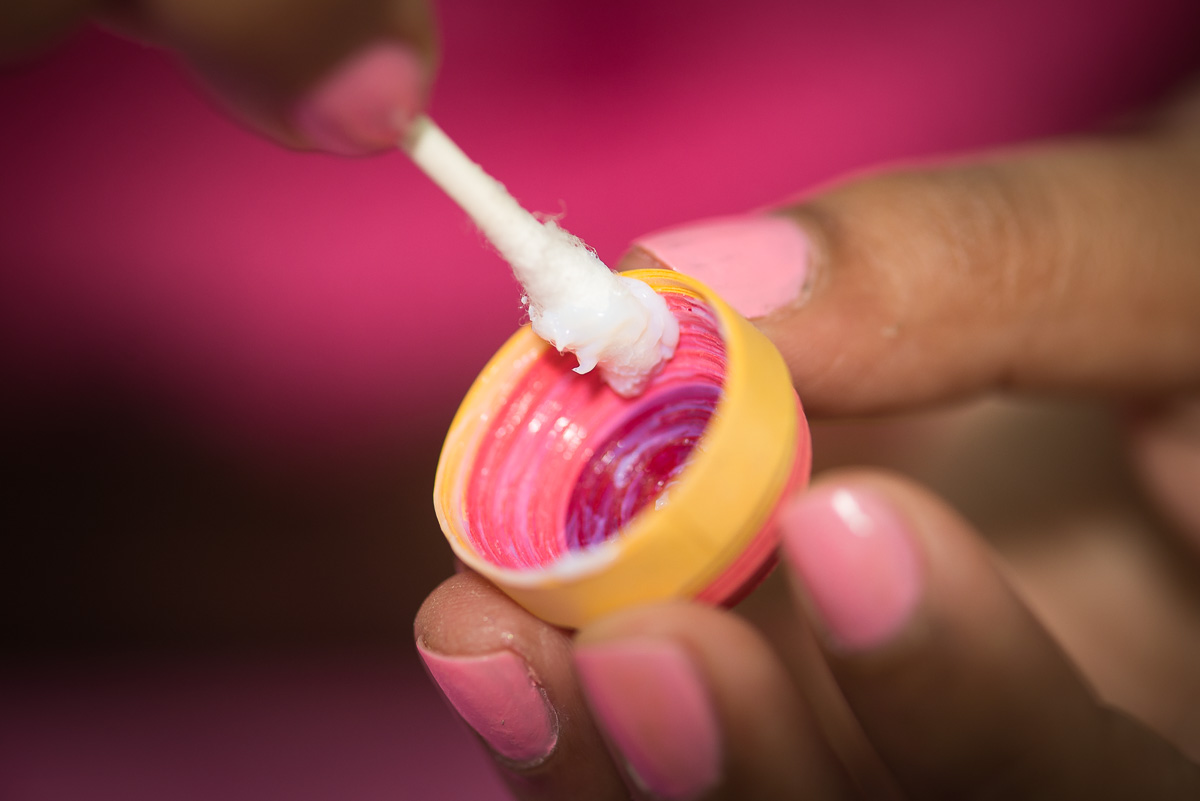
Step 3 – Use the mini mould to create a dome shape for the bottom piece of your jhumka. Once you are happy with the shape, glue the inside and let it dry completely for a few hours. Trust me, don’t rush this part.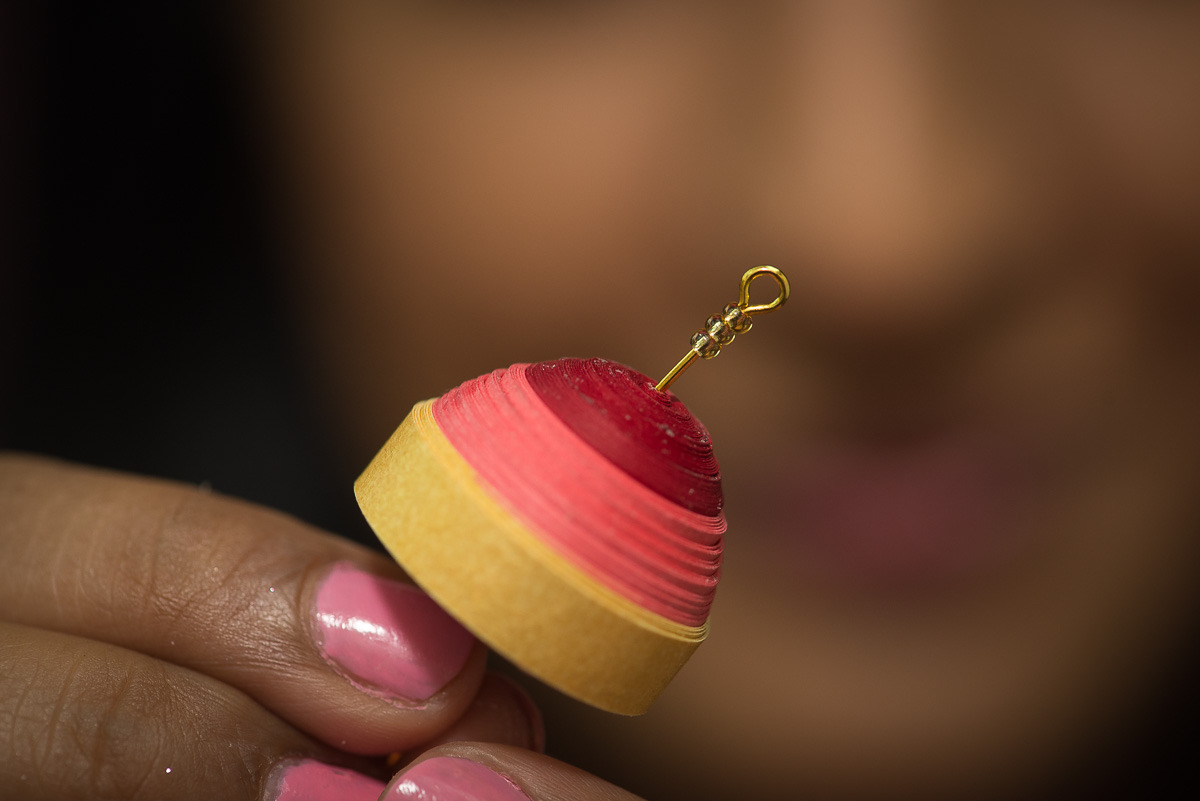
Step 4 – Assemble the jhumka. Start by adding 3 small glass beads to the eye pin and pushing it through the jhumka base. If you are going to add a dangling ornament to the jhumka add it to the eye pin and then fold it over into the jhumka as seen in the pics below.
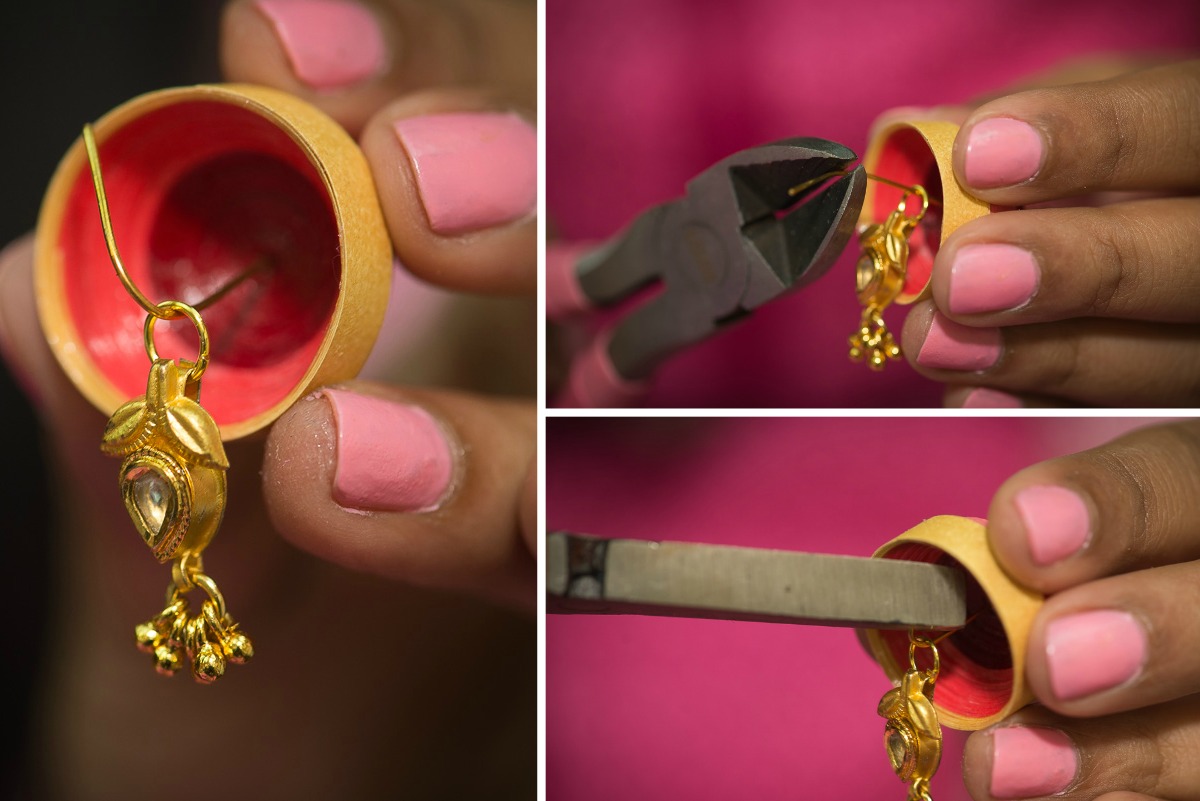 I used the bottom of an old broken earring for the ornament inside my jhumka
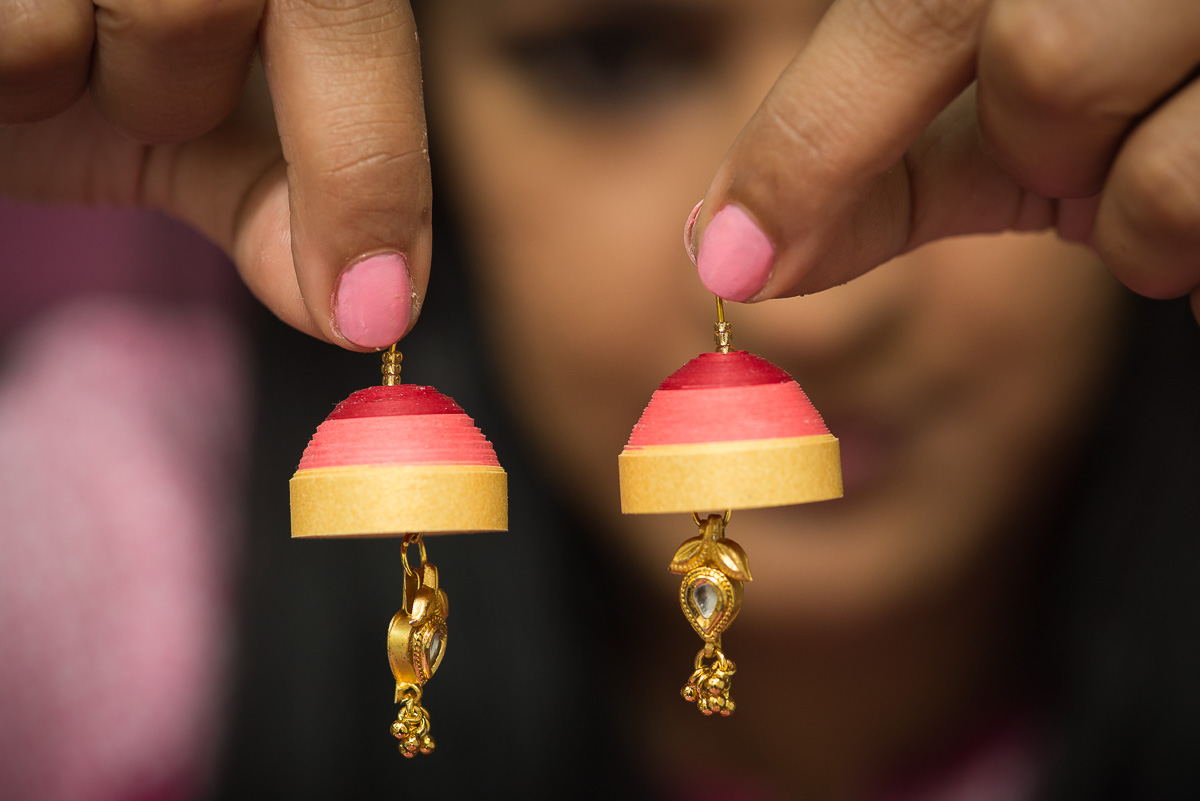 Now you should have the base for two jhumkas and you can start working on the portion that will go up against the earlobe.
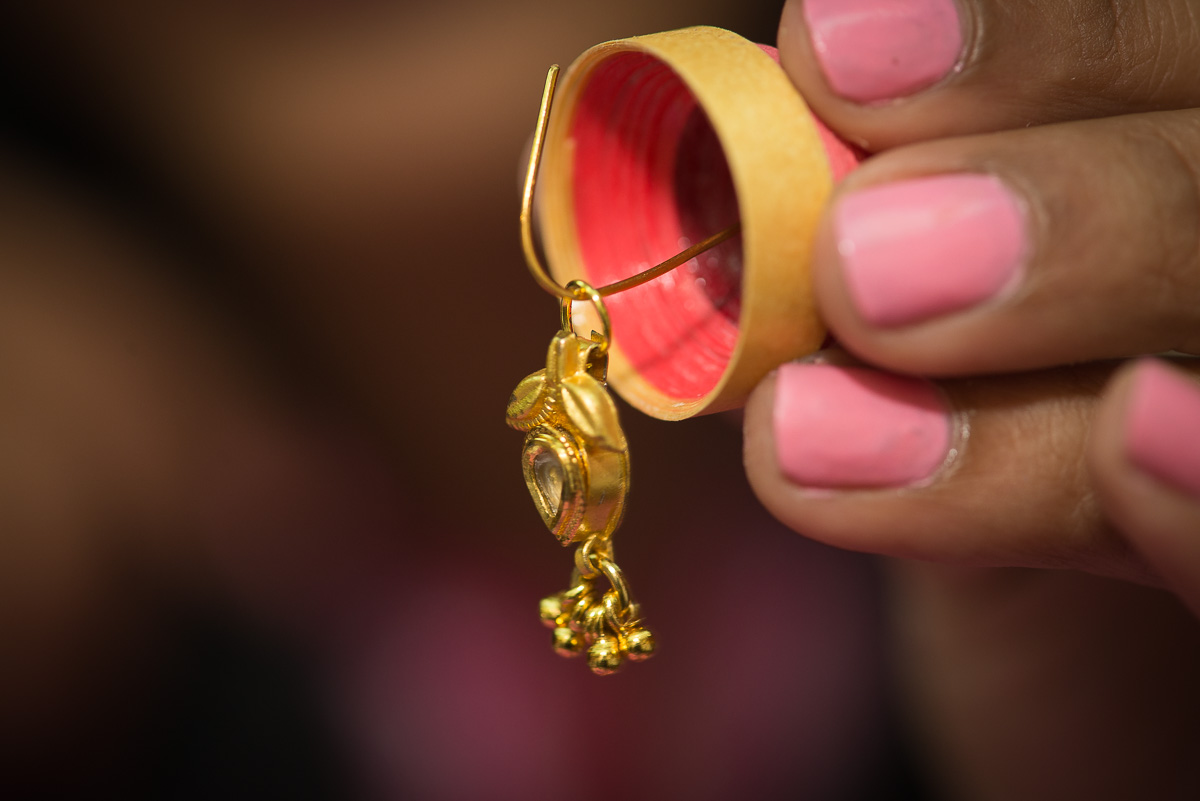
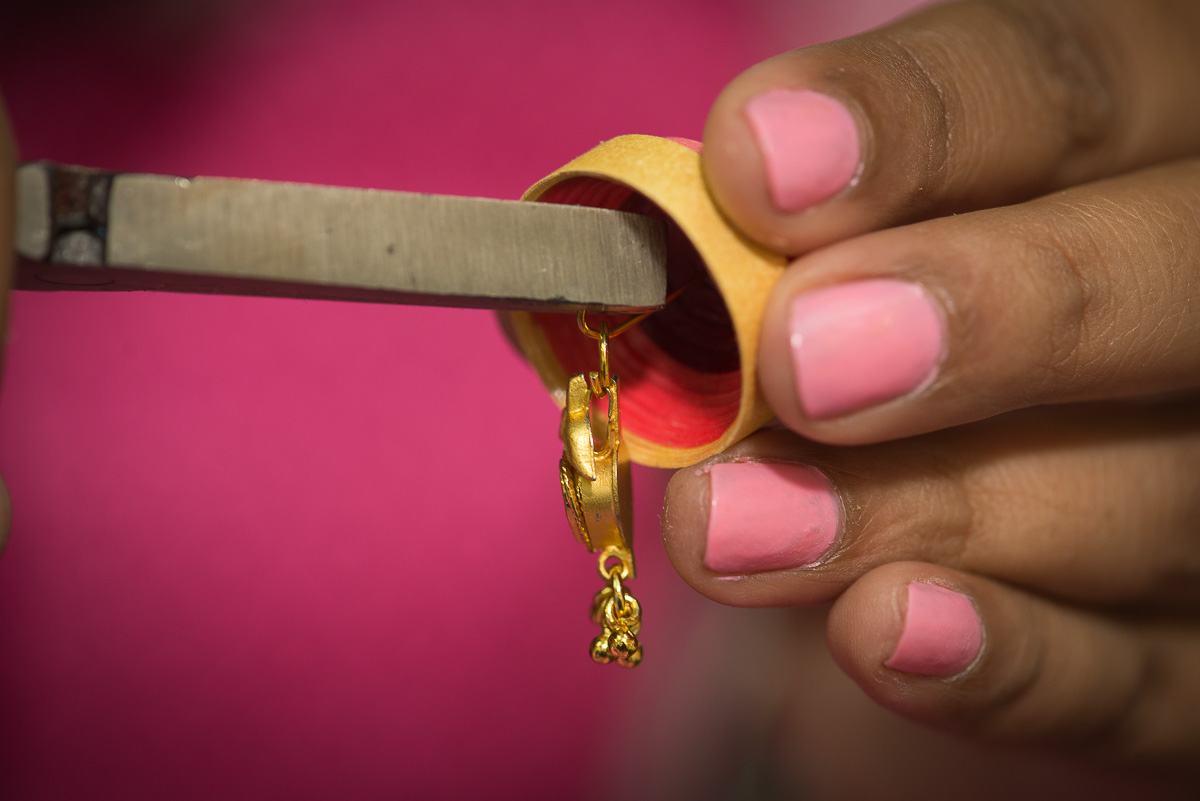
Place a headpin and bead cap through the smaller hole, and then push the headpin through the opening in the eye pin. 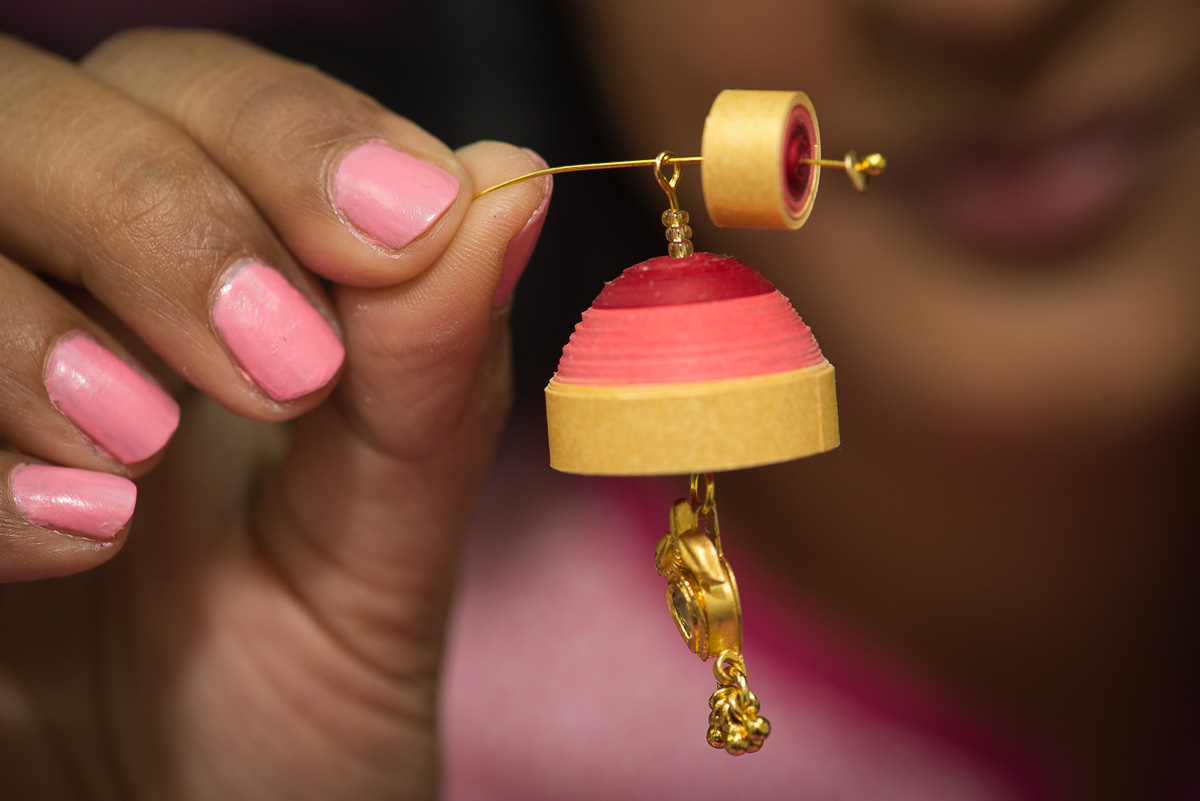 Clip the wire at the back of the headpin to whatever length is most comfortable for you, add a back and you are ready to go!
 I know this project involves looking for some specialized tools and has a lot of steps but it’s totally worth it. The earrings weigh next to nothing and look really good. I even made a second set in blue to pair with my Western looks.
 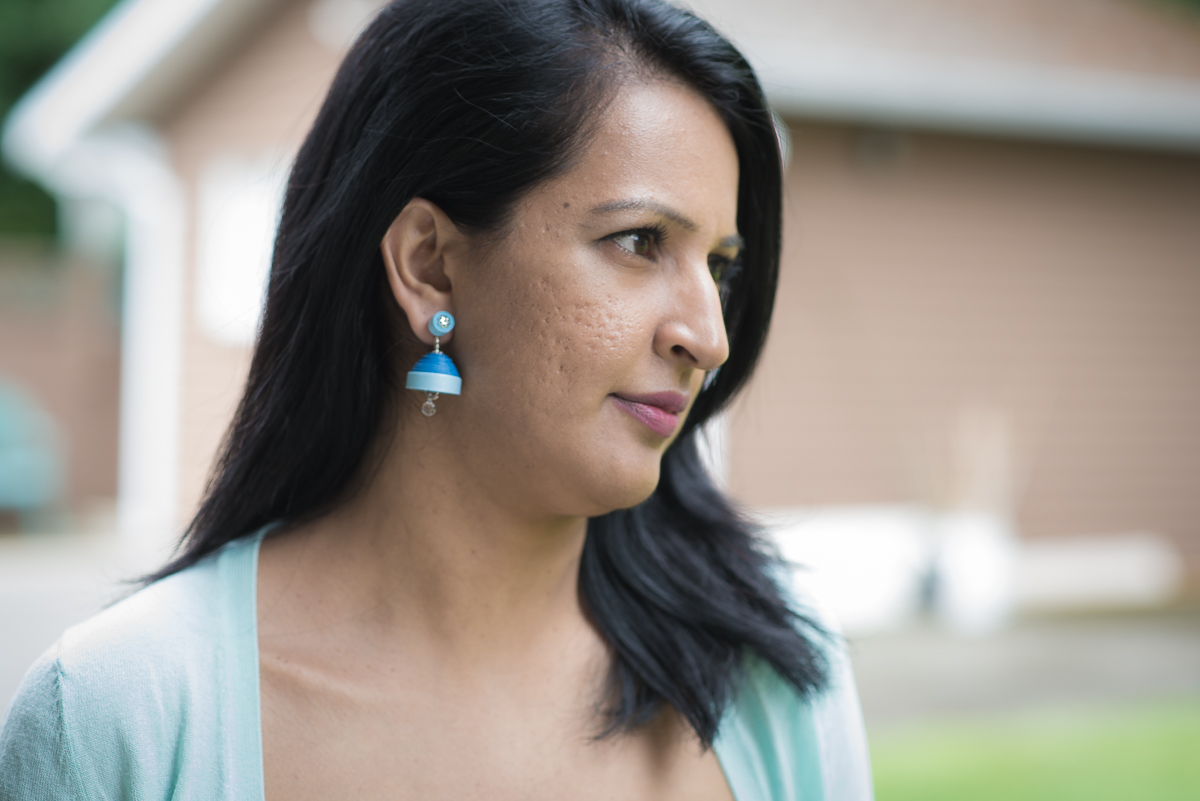 If you enjoyed this post, I’d love for you to share it with a friend!


These type of Jhumkas are in trend now. a post at the right time.
These are awesome, I already know I wouldn’t have the patience to make them, but if I did I would totally make some for myself, very nice!!
The Quilled paper Jhumkas are adorable! Will have to try it out soon, Have you tried doing them in clay?
I haven’t tried clay jhumkas, but I am working on a pair of chand bali earrings with clay, fingers crossed they turn out!
Great tutorial .Enjoyed reading it .
Thanks a lot
Good post and most fascinating one